


This easy garlic bread is coated in seasoned garlic-herb butter, lightly sprinkled with Parmesan cheese, and baked to perfection. It has crusty, golden-brown edges and a soft, buttery, melt-in-your-mouth interior. Serve it with all of your favorite Italian salads or pasta dishes.
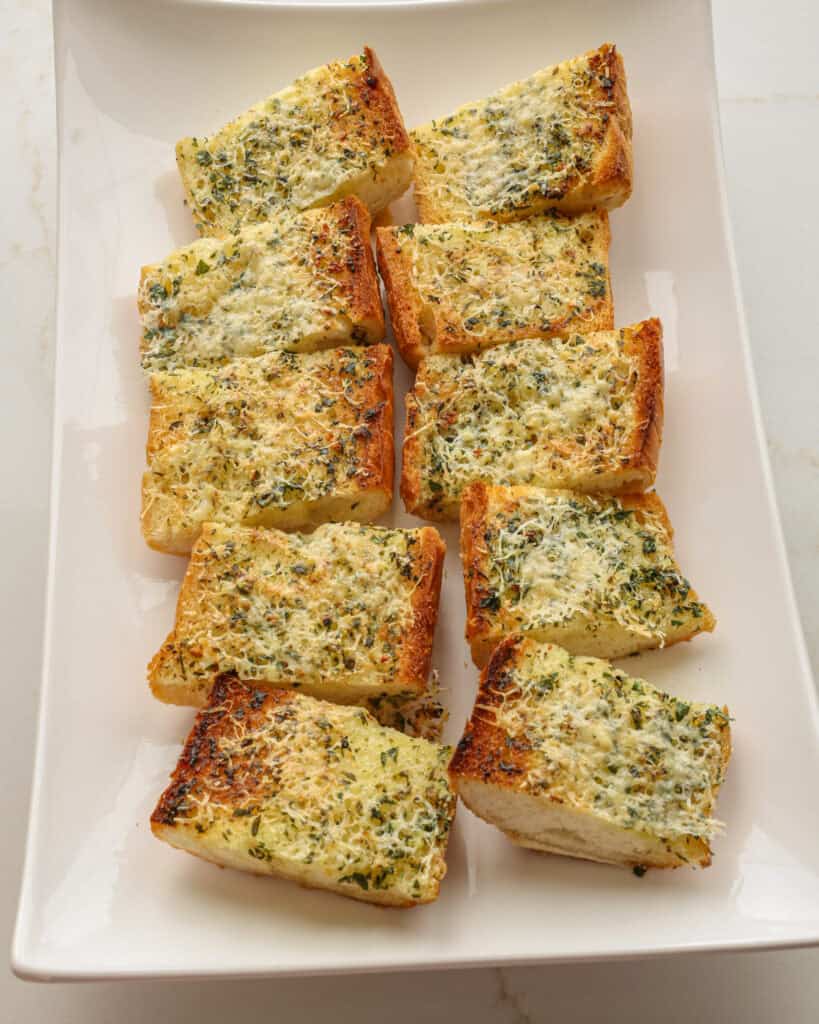
You really can’t go wrong with this delicious garlic bread. It is a true family favorite that works well with so many recipes.
Ingredient Notes and Substitutions
See the recipe card below for the complete list of ingredients.
- Bread: I like to use Italian or French bread or a baguette, but you can also use sourdough or Texas toast.
- Butter: unsalted or salted. If using salted butter, omit the added salt.
- Garlic: This is one of the stars of the recipe, so use fresh garlic.
- Fresh herbs: Use 1-2 tablespoons of chopped fresh herbs like parsley, basil, chives, rosemary, or thyme.
- Dried herbs: Use a little dried marjoram or oregano.
- Parmesan cheese: For the best flavor, use a little freshly grated. I think this works better than heavier cheese because it doesn’t overpower the flavor of the garlic herb butter.
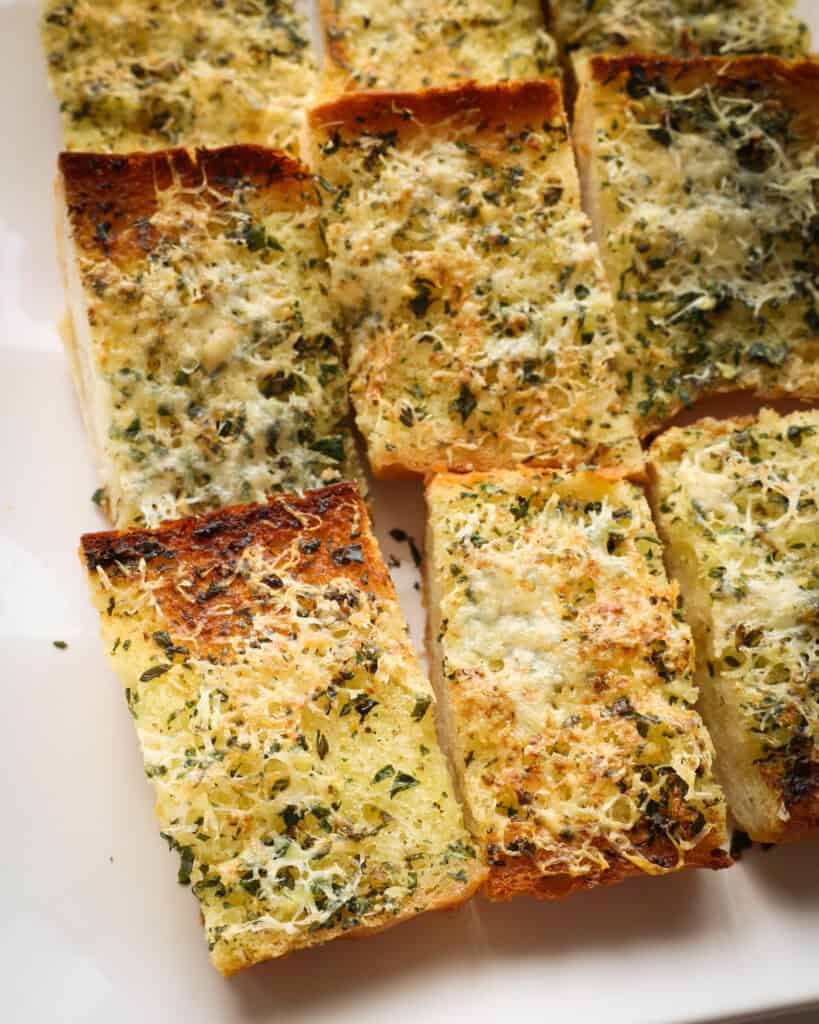
How To Make Garlic Bread
This is a summary; for the complete list of ingredients and instructions, see the recipe card below.
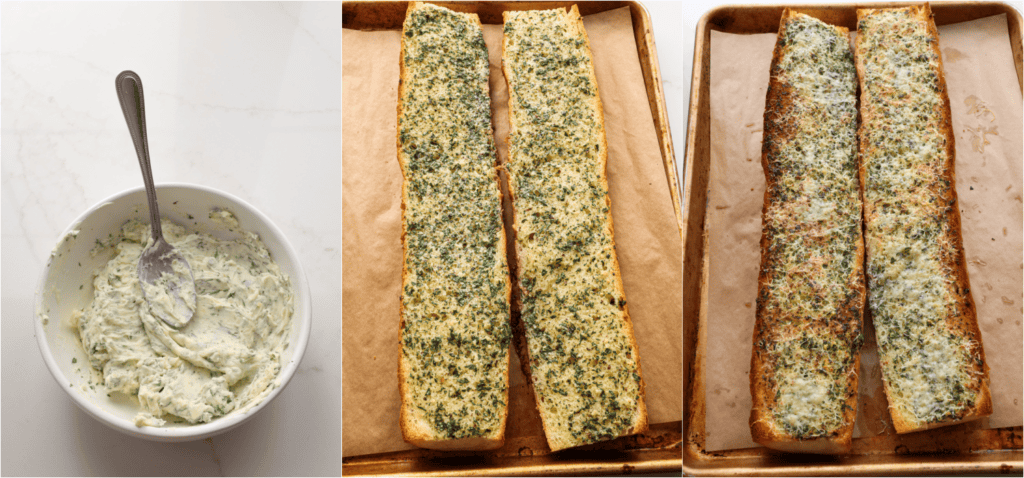
- Mix the butter with the garlic, parsley, marjoram, thyme, and salt.
- Generously spread the butter mixture over the cut portion of the bread.
- Bake for about 10 minutes, then remove the bread from the oven. Sprinkle it with the grated Parmesan cheese. Bake for another 2-3 minutes.
- For an extra crispy golden crust, turn the broiler on for the last minute of baking.
Cook’s Pointers
- The butter needs to be very soft to mix and spread properly. Remove the butter from the refrigerator a couple of hours before preparing the recipe. You can also soften butter in the microwave on 10-20% power in short bursts.
- I like to use pressed garlic for the ultimate garlic flavor, and it blends so well into the butter. You can use minced garlic for a milder garlic flavor and a little bit of texture.
- If you use the broiler for the last minute of baking to brown the bread, keep a close eye on it and check frequently. Broilers can be unpredictable, especially in older ovens.
- You can prepare this garlic bread ahead of time. After slathering on the butter, but before baking, place the loaves in large freezer bags, seal them, and remove as much air as possible. Seal for up to 3 months. Bake from frozen, adding a few more minutes. If the bread browns too fast, cover loosely with aluminum foil.
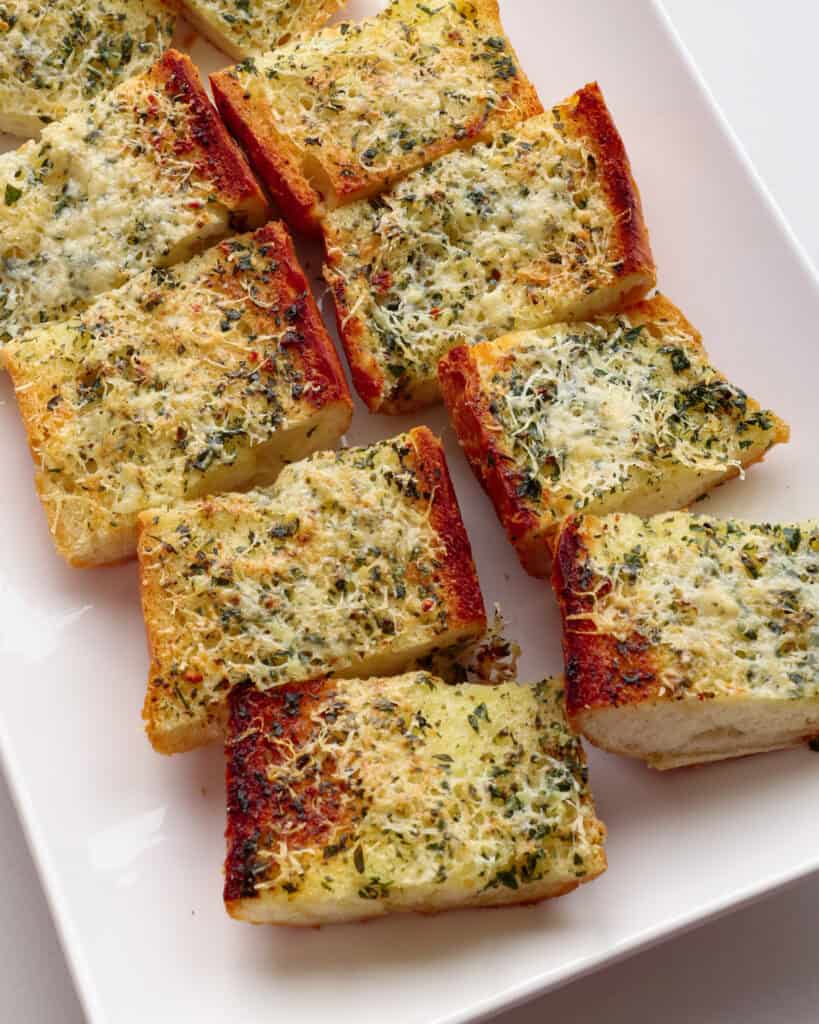
Recipe Variations
- Truffle oil: Add a few drops of black or white truffle oil to the butter mixture.
- Cheesy: Use a mixture of mozzarella, provolone, and cheddar to turn it into a mouthwatering homemade cheesy garlic bread recipe
- Roasted garlic: Roasted garlic adds depth and flavor to so many dishes. It is super easy to prepare and freezes well. Roast a whole head of garlic and add it to the butter mixture.
- Bacon tomato: Add crisp chopped bacon and sun-dried tomatoes for an over-the-top taste experience.
- Grill it: Instead of baking it in the oven, grill it over medium heat. Place it on the grill, butter side up, for 2-3 minutes to melt the butter and grill the bottom. Flip it and grill for another 2-3 minutes to lightly char and toast the bread.
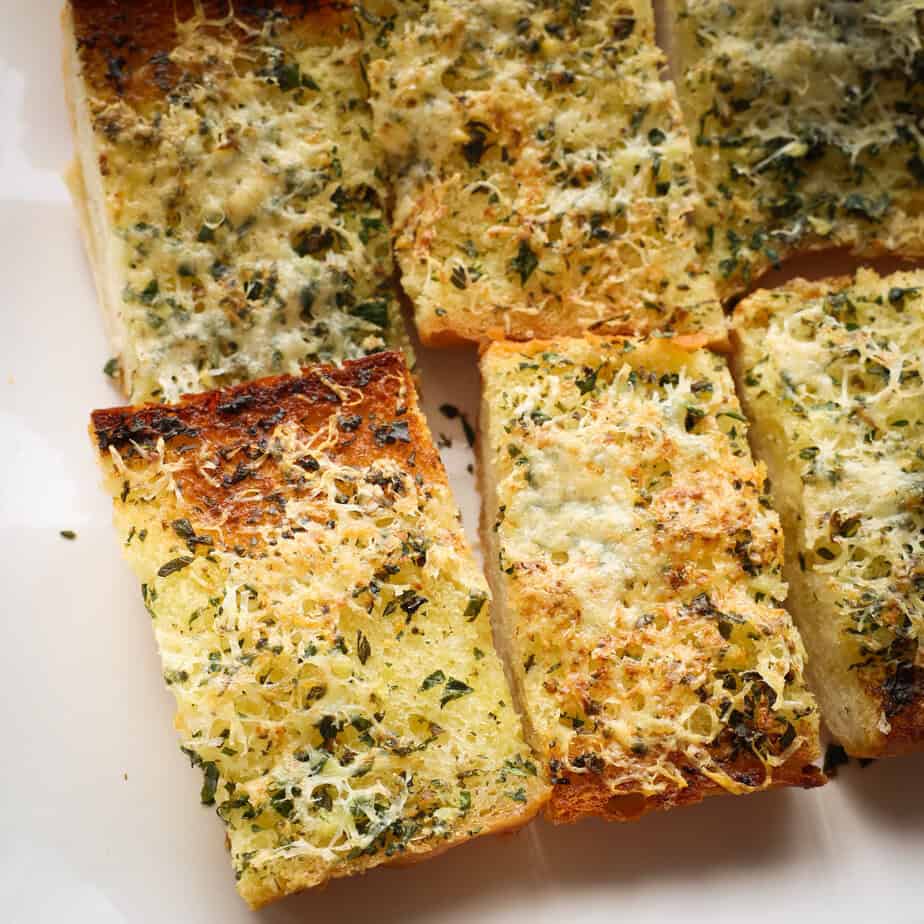
Garlic Bread
This garlic bread is coated in seasoned garlic-herb butter, lightly sprinkled with Parmesan cheese, and baked to perfection.
Print
Pin
Rate
Servings: 10
Ingredients
- 1 lb Italian bread cut in half lengthwise
- ½ cup butter softened
- 3 cloves garlic pressed
- 1 tablespoon chopped fresh parsley
- 1 teaspoon dried marjoram
- ½ tablespoon chopped fresh thyme
- ½ teaspoon salt
- ¼ cup freshly grated Parmesan cheese
Instructions
- Preheat the oven to 400°F. Cover a large baking sheet with parchment paper. Use aluminum foil if planning to turn on the broiler for the last minute.
- Mix the butter with the garlic, parsley, marjoram, thyme, and salt in a small bowl.
- Generously spread the butter mixture over the cut side of the bread.
- Bake for 9-10 minutes, then remove the bread from the oven. Sprinkle it with the grated Parmesan cheese. Bake for another 2-3 minutes.
- For an extra-crispy golden crust, turn the broiler on for the last minute of baking.
Did You Make This Recipe?Mention @smalltownwomanfoodnut or tag #smalltownwomanfoodnut!
Leave a Reply