

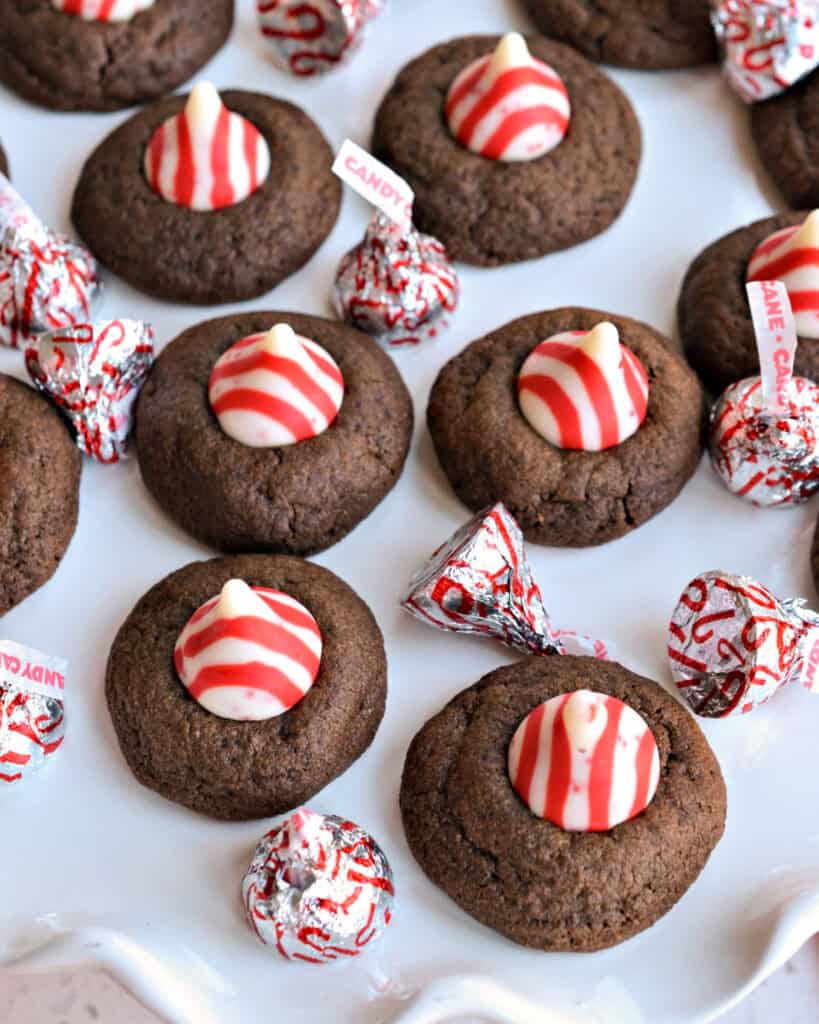
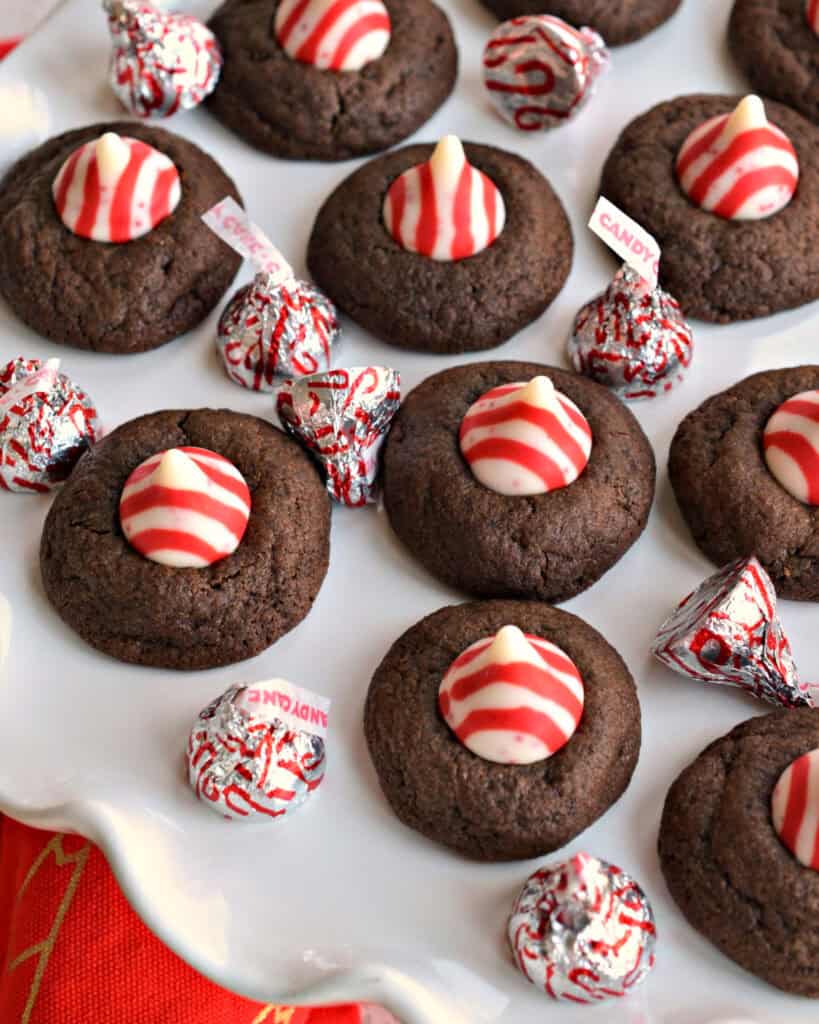
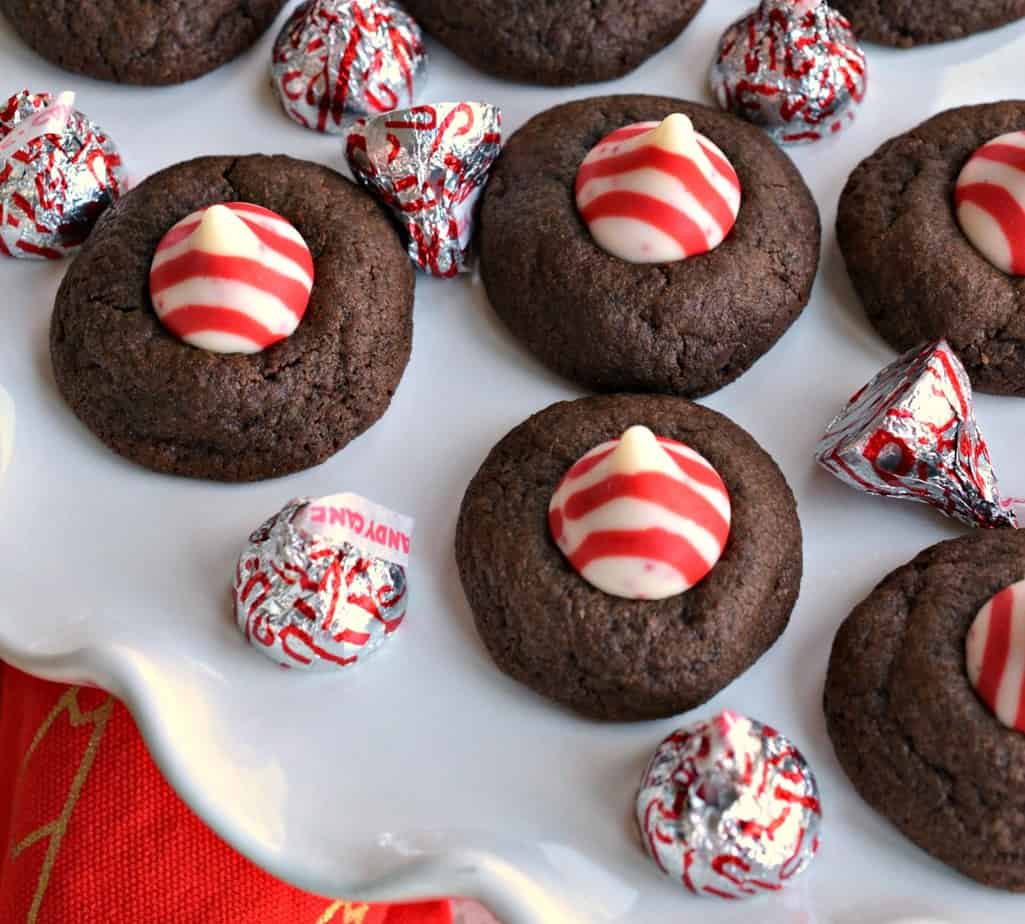
New and improved! Easy Peppermint Chocolate Thumbprint Cookies are delicious buttery chocolate treats baked to perfection and topped with a colorful red and white chocolate peppermint kiss.
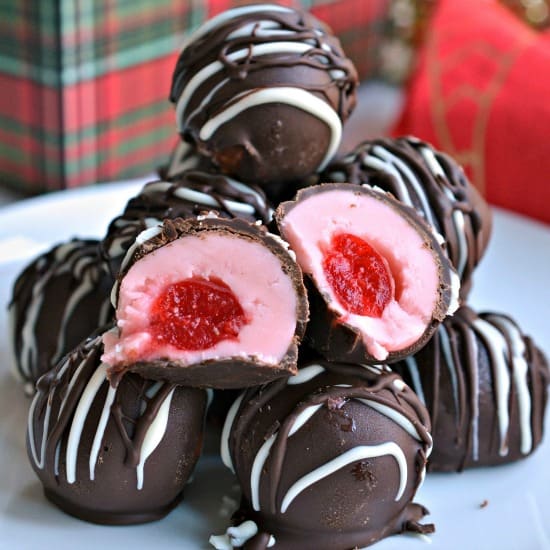
They are the perfect addition to your holiday cookie and candy-baking trays. I love to include them on my Christmas trays with chocolate-covered cherries, Buckeye Balls, Spritz Cookies, and Butter Cookies.
Well, it is baking season again. I love this time of the year, which is festive and fun. Christmas cookies are a super fun tradition in our house, and with some planning, it can be done without losing your mind. Most baked cookies are super freezer-friendly, and with just a few hints, you can master the art of freezing cookies.
These cookies are so easy, delicious, and super freezer-friendly. This recipe calls for white chocolate peppermint kisses, and they do go fast this time of year, so plan accordingly. Dough chilling time is also required, so allow time for that in your schedule.
Why You’ll Love This Recipe
- These fun and festive cookies are perfect for the holiday season. They will complement any cookie or candy tray beautifully.
- These scrumptious treats freeze very well. Therefore, they can be prepared in advance, frozen, and brought out to thaw just in time for all the festivities.
- These cookies are a cinch to make. Even the novice chef can handle making them.
Ingredients Notes and Substitutions
See the complete list of ingredients below on the recipe card.
- Butter: unsalted butter or salted butter. If using salted butter, eliminate the added salt.
- Vanilla extract: the pure stuff, or try peppermint extract.
- Cocoa: use good quality unsweetened cocoa. My preferred brand is Ghirardelli, but there are other excellent brands.
- Peppermint kisses: sometimes they are hard to find, so plan ahead. You can also use other kisses like mint truffle, sugar cookie, and hot cocoa.
How To Make Peppermint Chocolate Thumbprint Cookies
This is the summary version; see the recipe card below for the complete list of ingredients and the instructions.
First, put the peppermint kisses in the freezer for about two hours before you start the rest of the recipe. Using a mixer, cream the butter and sugars until light and fluffy. Add the egg yolks one at a time and mix just until incorporated. Then, mix in the vanilla extract.
Whisk together the flour, cocoa, salt, baking powder, and baking soda in a medium bowl. Add the dry mixture to the butter mixture in three parts. Blend after each addition just until combined, scraping down the side of the mixer bowl as needed. Remove the bowl from the mixer, cover, and refrigerate for at least three hours up to overnight.
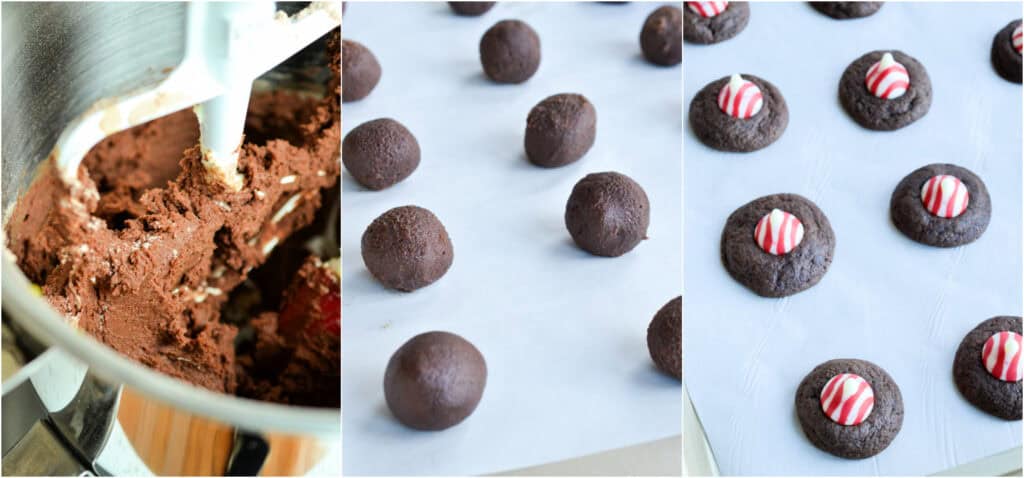
The dough will be sticky, so butter your hands and roll the dough into balls about 1 inch in diameter. Place on cookie sheets covered with parchment paper or silicone mats.
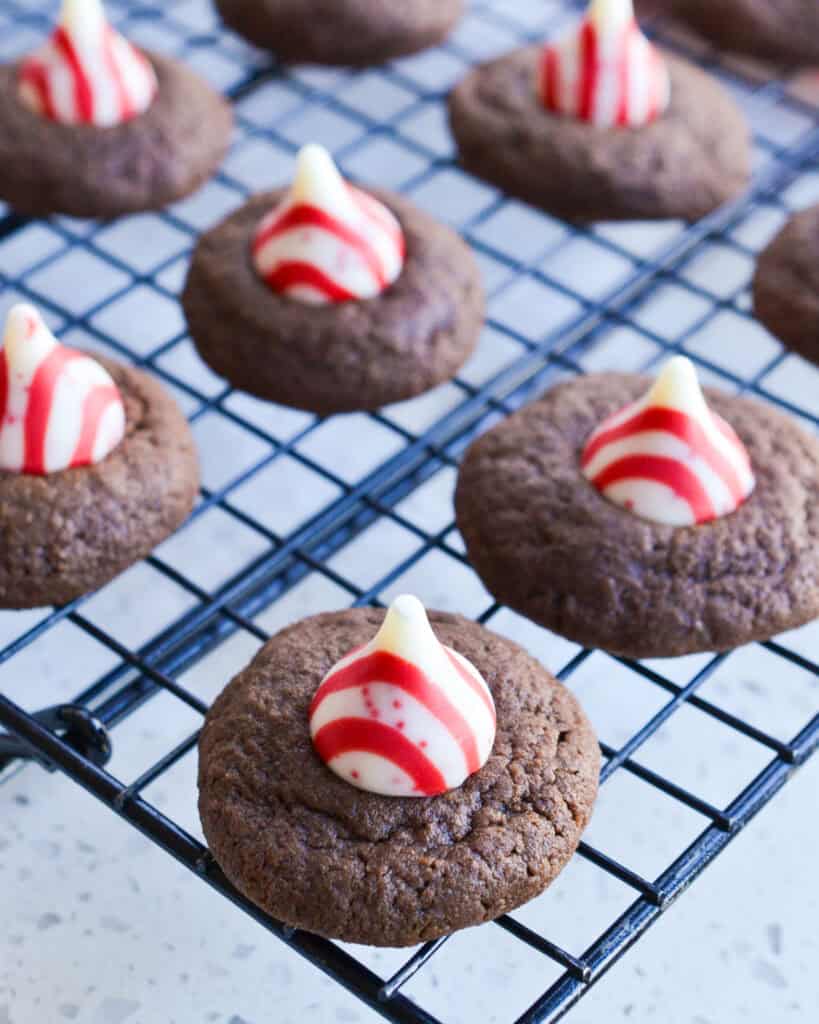
Bake for about 7-8 minutes. While the cookies are baking, unwrap the frozen kisses. Allow the cookies to cool for 3 minutes only, and then gently press a peppermint kiss into the top of each cookie. Move the cookies to cooking racks, being very careful not to touch the chocolate as it may be soft.
Preparation Tips
- The dough works best when chilled for 3 hours up to overnight.
- When we returned this recipe to the test kitchen, we found the vanilla extract tasted better. However, feel free to use peppermint extract instead, but cut it down to 3/4 teaspoon so it is not overpowering.
- Gently press the kiss into the top of the cookie, creating a slight indentation.
- If you have time, do a test run with one or two cookies. This will really help you establish the optimum baking time.
Frequently Asked Questions
The cookies should be thoroughly cooled before freezing. Carefully pack the cookies in double Ziploc freezer bags and place them in sturdy Gladware containers for up to 6 weeks.
When defrosting, remove the cookies from the freezer containers and place them on serving trays or platters uncovered until thawed. Then, store in airtight containers. The dough can be double-wrapped and frozen for two months.
For best results, freeze the kisses two hours before starting the recipe. This will help keep the kisses from melting when you place them on the top of the cookies.
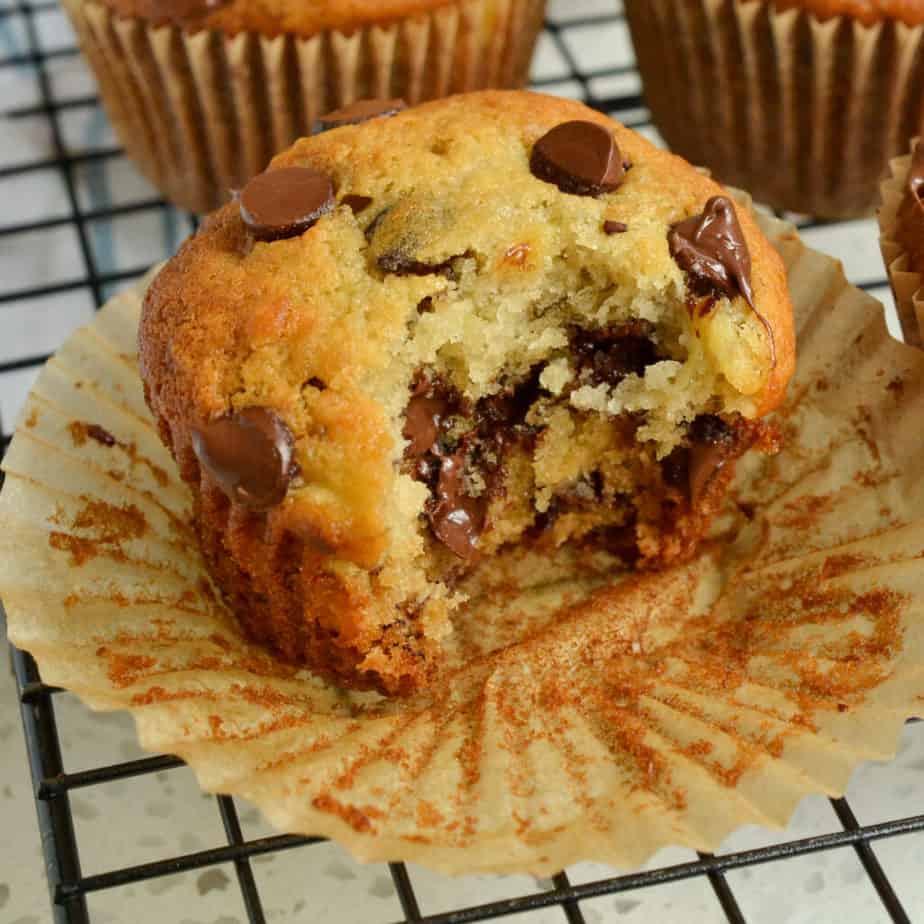
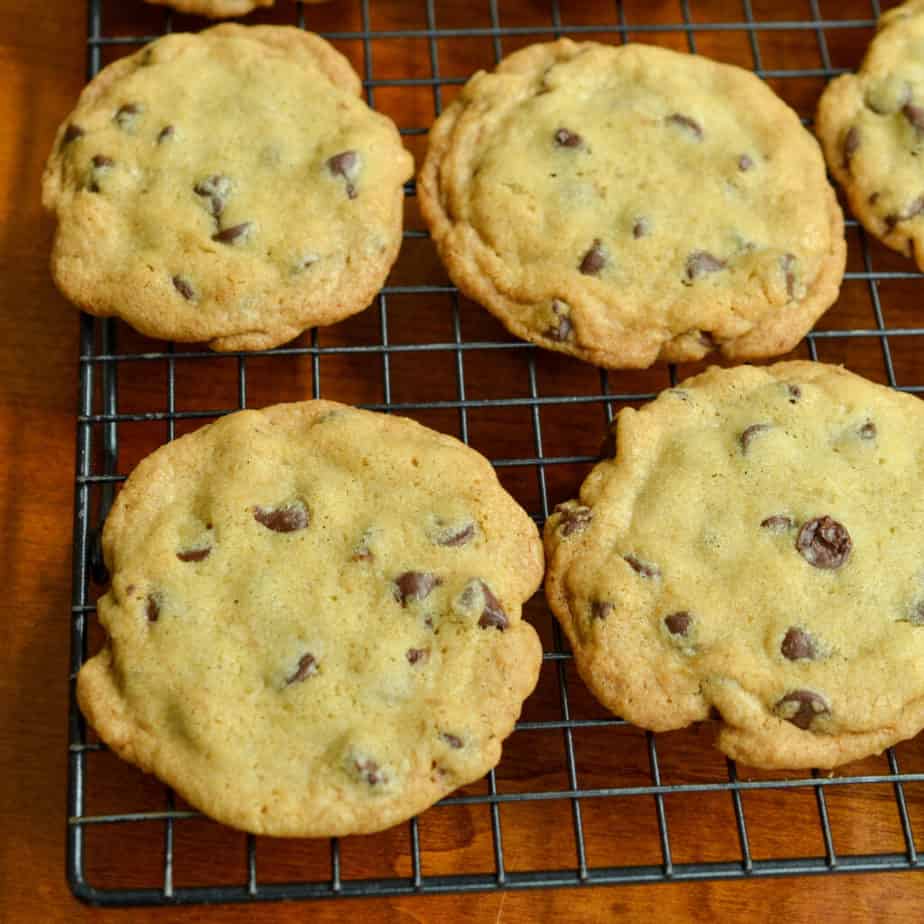
More Chocolate Treats
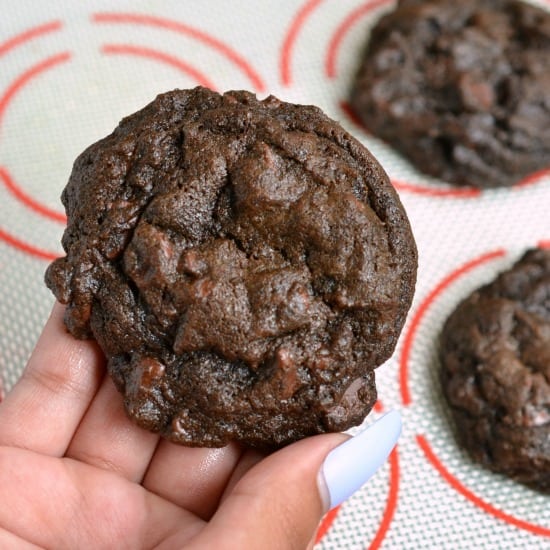

Peppermint Chocolate Thumbprint Cookies
Ingredients
- 1 cup unsalted butter softened preferably Land O Lakes
- ½ cup sugar
- ¼ cup packed light brown sugar
- 2 egg yolks
- 1 teaspoon vanilla extract or 3/4 teaspoon peppermint
- 1 ½ cups all purpose flour
- ½ cup unsweetened baking cocoa
- ¼ teaspoon salt
- ½ teaspoon baking powder
- ½ teaspoon baking soda
- 28 -30 frozen peppermint kisses
Instructions
- Cream butter and both sugars with a mixer until light and fluffy. Turn the mixer to low, add egg yolks one at a time, and mix just until incorporated. Mix in vanilla extract.
- Whisk together flour, baking cocoa, salt, baking powder, and baking soda in a medium bowl. Add the dry mixture to the butter mixture in 3 parts. Blend on low after each addition just until combined, scraping down the side of the mixer bowl as needed. Remove the bowl from the mixer, cover, and refrigerate for at least 3 hours up to overnight.
- Preheat oven to 350 degrees. Cover baking sheets with parchment paper or silicone mats.
- Butter hands and roll dough into a little less than 1-inch balls. Place them on the prepared baking sheet with 1-2 inches between cookies.
- Bake for 7-8 minutes. Allow to cool for 3 minutes only. Press 1 peppermint kiss into the top of each cookie. Carefully move the cookies to wire racks without touching the peppermint kiss as it may be soft.
Notes
- The dough works best when chilled for 3 hours up to overnight.
- When we returned this recipe to the test kitchen, we found the vanilla extract tasted better. However, feel free to use peppermint extract instead, but cut it down to 3/4 teaspoon so it is not overpowering.
- Gently press the kiss into the top of the cookie, creating a small indentation.
- If you have time, do a test run with one or two cookies. This will really help you establish the optimum baking time.
Nutrition
On the hunt for more delicious recipes? Follow Small Town Woman on Facebook, Pinterest, and Instagram.
https://www.smalltownwoman.com/wp-content/uploads/2019/05/Beth-1.pdf


Diana
Hello, I’ve been making your recipe for a few years now. I see it says new improved recipe. Is there anyway you can send me the old recipe? Thanks
Beth Pierce
That is the same recipe that I have had for years I need to remove those words as they are confusing, now.
Caylah Lawrence
I make these every single year for Christmas and I love adding some frosting and then the chocolate kiss on top 🙂
Beth Pierce
Thank you, Caylah! Merry Christmas!
Kim Hammen
Is it essential to use frozen kisses?
Beth Pierce
No, just helpful in keeping the kisses from melting!
karen
These cookies are so delicious. We made them last year for the holidays and everyone loved them. They were beautiful on the cookie trays!
Heidi
These thumbprint cookies are the best. Delicious, moist, and perfect for Christmas!
Lavanda
I love how you emphasize the joy of making Christmas cookies as a family tradition. Your tips on freezing cookies are really helpful, especially during such a busy time of year.
Lynndee
I made those cookies before but I didn’t use peppermint. I like the looks of the red stripes. I will use peppermint next time. Thanks for the idea!
Julie D
These are so much fun for Christmas cookie trays! Thank you for sharing your recipe.
Stancil
I made these cookies today with my kids and they were amazing!! Exactly what I was looking for. Thank you for the recipe!
Beth Pierce
The pleasure is all mine, Stancil! So glad that you and the kids liked them!
Anne
The rich moist chocolate flavor is close to the decadence of brownies. Paired with the peppermint kiss, it is perfection. This is a cookie I make every year now for Christmas. Thanks for this recipe!
Beth Pierce
The pleasure is all mine, Anne! Merry Christmas!